
Table of Contents
Welcome to the world of makeup! If you’re new to eyeshadow, it might seem hard at first But, with a few simple steps, you can get a stunning look that highlights your natural beauty.
You’ll find out how to pick the best shades for your skin. You’ll also discover how to prep your eyelids and apply eyeshadow with professional technique . By the end of this easy-to-follow eyeshadow tutorial, you’ll know how to create a beautiful, everyday look that boosts your confidence.
Key Takeaways
- Learn the basics of eyeshadow application for a natural look.
- Find out how to pick the perfect eyeshadow colors for your skin tone.
- Master simple techniques for a professional-looking finish.
- Build confidence to try out various eyeshadow shades and styles.
Essential Eyeshadow Tools and Products
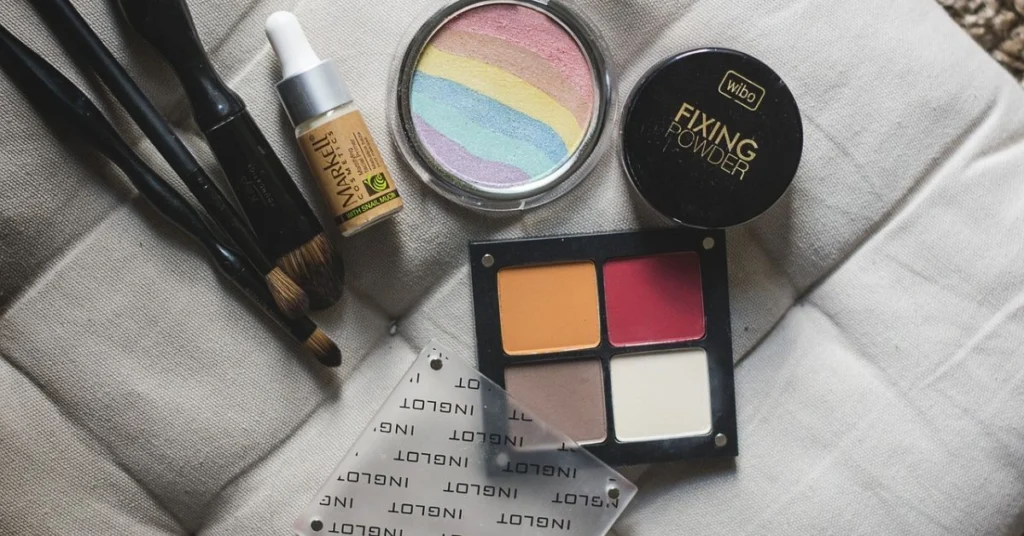
The key to a flawless eyeshadow look lies in the tools you use. To achieve a professional finish, you’ll need to invest in some essential eyeshadow tools and products.
Must-Have Brushes for Flawless Application
Good quality brushes are indispensable for eyeshadow application. They help in precise application and blending, making your eyeshadow look more polished.
Flat Shader vs. Blending Brushes
A flat shader brush helps spread eyeshadow smoothly and evenly over the eyelid. A blending brush is designed to soften the edges of the eyeshadow. This helps blend the colors smoothly together.
Budget-Friendly Brush Options
You can find high-quality brushes without spending a lot. Brands like Real Techniques and e.l.f. Present cost-effective solutions that don’t cut corners on quality.
Understanding Eyeshadow Formulations
Eyeshadows come in various formulations, each with its unique characteristics and application techniques.
Powder, Cream, and Liquid Eyeshadows
Powder eyeshadows are widely used and simple to apply, while cream eyeshadows deliver more intense color. Liquid eyeshadows provide a precise application. This eyeshadow tutorial covers how to use each type effectively.
Matte vs. Shimmer Finishes
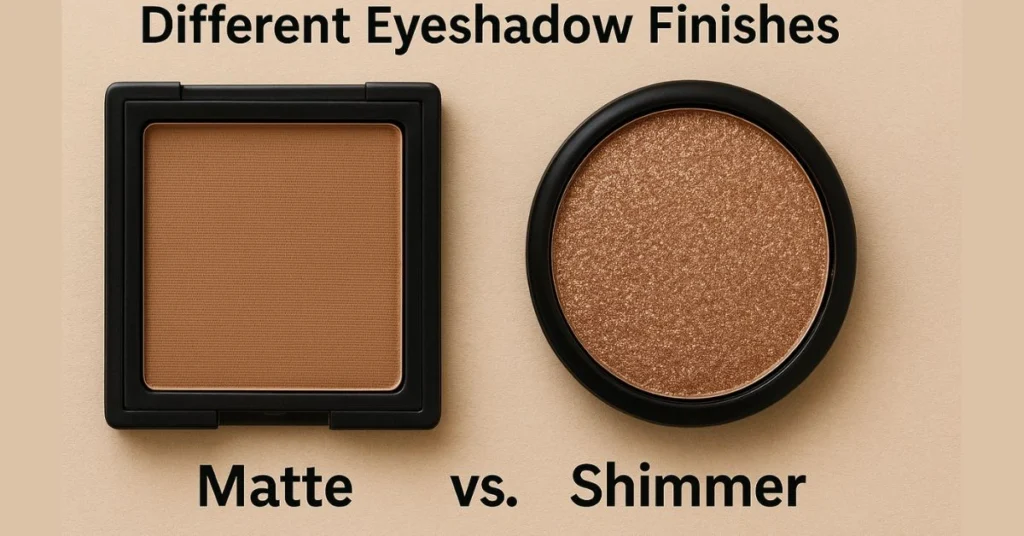
Matte eyeshadows provide a flat, non-shimmering finish, ideal for creating depth. Shimmer eyeshadows bring a touch of sparkle and depth to your look.
Beginner-Friendly Eyeshadow Palettes
Choosing the right eyeshadow palette can be overwhelming, even for beginners.
Versatile Neutral Palettes
Neutral palettes are great for everyday use. They can be easily customized to suit your eye color.
Color Stories to Complement Your Eyes
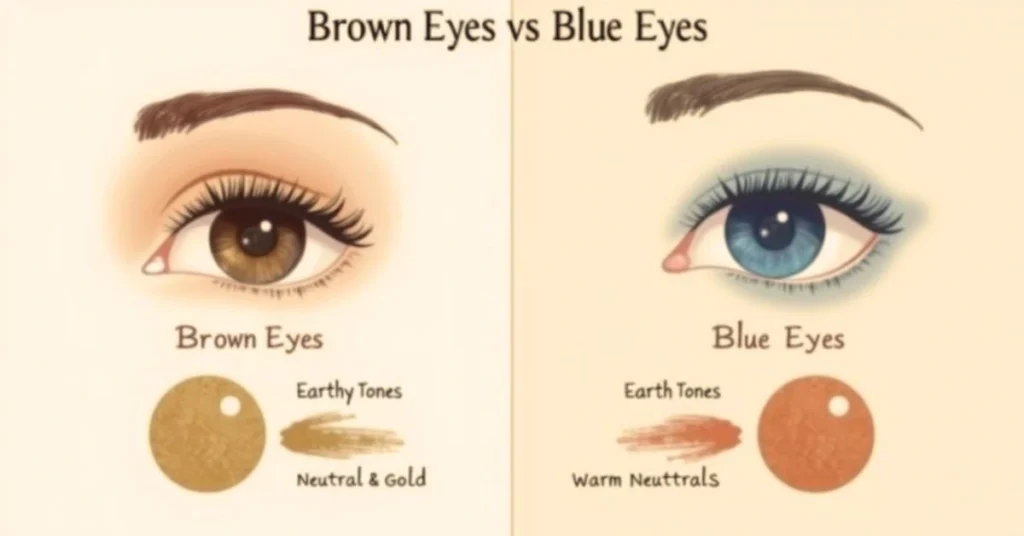
Selecting a palette that complements your eye color can enhance your natural beauty. For example, earthy tones suit brown eyes. Purples complement green eyes.
| Eye Color | Complementary Eyeshadow Colors |
| Brown Eyes | Earthy tones, neutrals, golds |
| Blue Eyes | Earth tones, warm neutrals, terracottas |
| Green Eyes | Purples, golds, earthy tones |
Preparing Your Eyes for Eyeshadow Application
Getting your eyes ready for eyeshadow is key to a beautiful look. Before you start, follow a few important steps for a flawless finish. Proper preparation makes your eyeshadow look better and makes applying it easier.
The Importance of Eye Primers
Eye primer is essential in your eyeshadow routine, helping colors appear more vibrant and preventing creasing or fading.
How to Apply Primer Correctly
Apply just a bit of primer to prep your eyelids. Blend it well with your finger or a brush. Make sure to cover the whole area where you’ll apply eyeshadow.
Alternatives When You Don’t Have Primer
If you don’t have primer, use concealer or a light foundation. They’re not as good as primer, but they help your simple eye makeup look even.
Color Selection Based on Eye Color
Picking the right eyeshadow colors can be tricky. It mostly depends on your eye color. Some shades make your eyes look amazing.
Complementary Colors for Blue, Brown, Green, and Hazel Eyes
Blue eyes truly shine when paired with warm earthy hues like bronze and gold . Brown eyes are incredibly versatile, but shades of purple and green really make them pop. Green eyes pop with red and purple. Hazel eyes can beautifully carry both warm and cool shades, such as gold and silver.
Universal Shades That Work for Everyone
Some eyeshadow shades are flattering for everyone. Neutral shades like beige, taupe, and soft brown are perfect for everyday. They complement any eye color, making them a great simple eye makeup choice.
Understanding Your Eye Shape
Your eye shape affects how you apply eyeshadow. Different techniques can highlight or hide your eye shape.
Identifying Your Eye Shape
Use a mirror to determine the shape of your eyes. Pay attention to the shape and size of your eyes . Common shapes include almond, round, hooded, and monolidded. Knowing your shape helps you apply eyeshadow better.
Placement Tips for Different Eye Shapes
Almond eyes look great with a light shade all over and a darker shade in the crease. For round eyes, apply a medium shade on the lid and deepen the outer corner with a darker hue. Hooded eyes should focus on the visible lid. Monolidded eyes can use one shade or subtle gradations for depth.
Step-by-Step Eyeshadow Tutorial for Beginners
Learning to apply eyeshadow can seem hard, but our eyeshadow tutorial makes it easy. You’ll learn how to create both simple and more intricate styles in this tutorial. You’ll quickly gain the skills to become an expert. .
The Basic One-Shadow Look
Start with a simple look to build your confidence. A one-shadow look means using one color to create a clean, all-over lid finish.
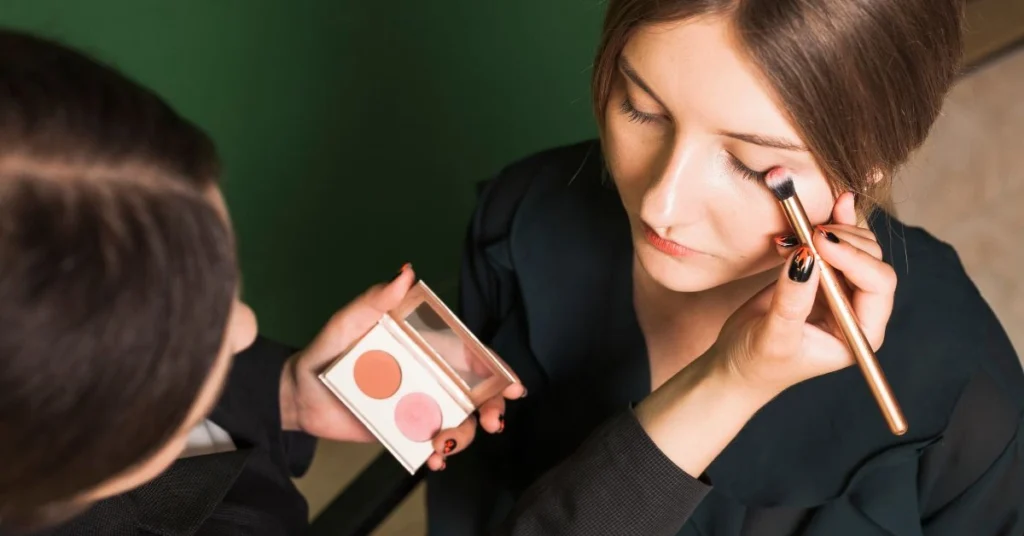
Application Technique
Use a fluffy brush to apply eyeshadow. Sweep it from the lash line to the crease. Blend well to avoid harsh lines.
Best Shades for One-Shadow Looks
Choose shades that match your eye color for a natural look. For example, earth tones are great for brown eyes. Purples make blue eyes stand out.
| Eye Color | Recommended Shade |
| Brown Eyes | Earth tones (brown, taupe) |
| Blue Eyes | Purples, golds |
| Green Eyes | Purples, silvers |
Three-Shadow Technique for Dimension
For depth, try the three-shadow technique. Apply different shades to the lid, crease, and outer corner.
Lid, Crease, and Outer Corner Placement
Apply the lightest shade to your lid, blend a medium tone into the crease, and finish with the darkest color on the outer corner . This creates a gradient for depth.
Building Intensity Gradually
Begin with light layers and build up. This helps you control the intensity and avoid too much.
Essential Blending Techniques
Blending is key for a smooth eyeshadow look. It merges colors and softens lines.
Windshield Wiper Motion Explained
Blend edges with a windshield wiper motion. This spreads the color evenly.
When to Switch to a Clean Brush
Change to a clean brush for blending colors. This ensures a smooth finish without excess product.
Creating Popular Everyday Eyeshadow Looks
Learn how to make easy, everyday eyeshadow looks that boost your natural beauty. With a few simple steps from this eyeshadow tutorial, you can improve your makeup and get different styles for any event.
5-Minute Natural Eye Makeup
look is great for daily wear. It’s subtle yet makes your features pop. Start with a light, neutral eyeshadow base on your lid.
Work-Appropriate Application
For work, choose soft, muted tones that match your skin. Put a light shade all over your lid and a darker shade in the crease for depth.
Making Your Eyes Look More Awake
For a more refreshed look, highlight the inner eye and brow bone with a luminous light shade. This brightens your eyes and hides tiredness.
Simple Smokey Eyeshadow Tutorial & Pro Tips
Make a smokey eye for everyday by using softer shades. Begin with a light transition shade in the crease, then a medium shade on the lid, and a dark shade on the outer corner.
Soft Smokey Eye for Beginners
Beginners, use neutral tones for a soft smokey eye. Take your time blending to soften lines and build pigment step by step.
Transitioning from Day to Night Look
To change your smokey eye from day to night, add more product or darker shades. Add a shimmery shade on the lid for glamour.
Soft Glam for Special Occasions
For special events, add glamour with shimmery shades and define the outer corner of your eyes.
Adding Shimmer to the Center of the Lid
Shimmery eyeshadow on the lid’s center makes your eyes pop. Choose a shade that complements your eye color and blend it thoroughly.
Defining the Outer V for Depth
Defining the outer V adds depth. Apply a deeper shade and blend it thoroughly into the crease for a smooth, unified finish.
| Look | Key Shades | Techniques |
| Natural Eye Makeup | Light neutrals | Apply all over lid, blend |
| Soft Smokey Eye | Neutral tones, dark on outer corner | Blend shades, build color |
| Soft Glam | Shimmery shades, dark on outer V | Add shimmer, define outer V |
Conclusion: Troubleshooting and Practice Tips
Learning to apply eyeshadow well takes time and practice. If you’re having trouble with fallout or uneven color, don’t give up. Adjusting your application technique and switching up your products can make a big difference. For example, using an eyeshadow primer can stop creasing and make your look smoother. Following an eyeshadow tutorial can also guide you step-by-step and improve your technique.
Practice is essential to get better. Start with a simple eyeshadow tutorial and then try more complex looks. Experiment with different techniques, like the three-shadow method or a simple smokey eye. This approach will help you discover what suits you best. With regular practice, you’ll grow more confident in creating many different looks.
Remember, blending is key. Smooth transitions between colors are important for a professional look. Take your time when applying eyeshadow. Don’t be afraid to try different products and methods until you find what suits your eyes and skin best. This eyeshadow tutorial is here to help you discover what works for you.
Searching for a primer that ensures your eyeshadow stays put all day?
The Urban Decay Eyeshadow Primer Potion is top-notch. It’s creamy and pigmented. It makes your eyeshadows pop and last all day.
What’s the best way to choose eyeshadow shades that suit my eye color?
Think about your eye color when picking eyeshadows. Blue eyes look great with earthy tones like brown and gold.
Green and purple shades beautifully complement brown eyes. Green eyes shine with purples and golds. Hazel eyes should highlight the green or gold flecks with the right shades.
What’s the difference between a flat shader brush and a blending brush?
A flat shader brush is designed to pack eyeshadow onto the eyelid with precision. In contrast, a blending brush is used to soften edges and merge colors seamlessly. While the shader brush lays down pigment, the blending brush diffuses it for a smooth, professional finish.
How do I create a simple smokey eye look?
Begin by sweeping a light shade across your entire eyelid. Add dimension by applying a medium tone into the crease. Deepen the look by placing a dark shade in the outer corner. Blend everything thoroughly to avoid harsh lines, then define your eyes with a pencil or liquid liner for a bold finish.
What are common mistakes to avoid with eyeshadow?
Skipping primer, applying too much product, or neglecting to blend can all ruin your look. It’s important to blend well, especially at the edges, and to choose colors that complement your eye shape and tone. Use a light hand and build color gradually for a polished result.eyeshadow tutorial
How can I make my eyeshadow last all day?
Begin with an eyeshadow primer to secure the color. Apply with brushes for a smooth finish, and seal the look using a setting spray. For longer-lasting wear, layer powder shadow over a cream base.